
Organizations often find themselves in weird spot after a hybrid migration to O365/Exchange Online. The process for creating a new user, which was so easy prior to the migration, suddenly changes. This tutorial explains how to properly provision a new user and O365 mailbox in a hybrid environment.
The easiest way to provision a new user and mailbox in a hybrid environment is to do it through the Exchange Admin Center. By doing so, you can create the new user and mailbox both in a single step. To create a new user in AD, along with an O365 mailbox, complete the following steps:
Log into the Exchange Admin Center
Browse to https://mail.yourdomain.com/ecp (or whatever your organization’s console URL is).
Create a New User
In the Exchange Admin Center fur the on-prem Exchange organization, browse to Recipients | Mailboxes.
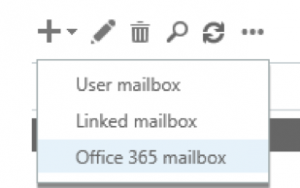
Click the plus sign located above the “Display Name” column and select “Office 365 mailbox.”
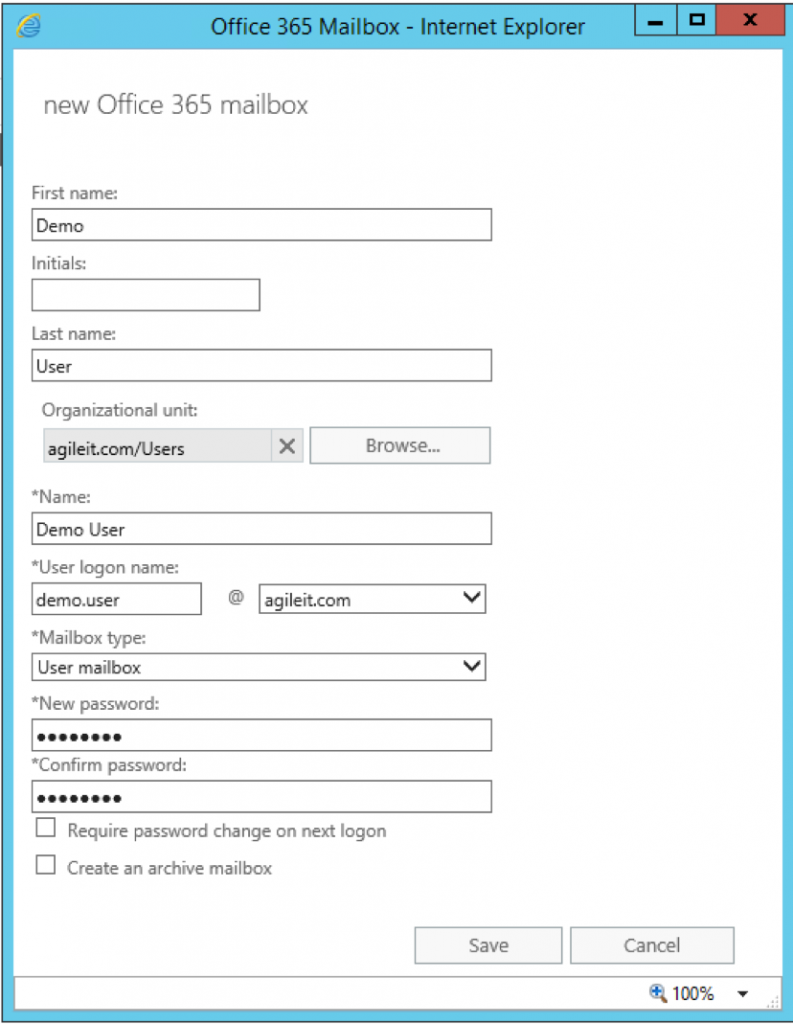
Provide User Information
Complete all necessary fields to provide the information for your new user. After doing so, click Save.
Synchronize New User to O365
After creating your user and O365 mailbox via the on-prem EAC, wait for the user to synchronize to O365. If you prefer to force synchronization so you don’t have to wait, you can force a manual sync by logging into the Azure AD Connect server and running the command below from an Administrative PowerShell window:
Start-ADSyncSyncCycle -PolicyType Delta
Otherwise, just wait for the next sync cycle to occur.
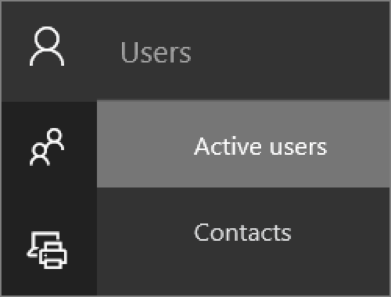
License the User in O365
Once the user has synchronized to O365, browse to https://portal.office.com and click the Admin tile. Once in Admin, click Users and then click Active users.
Select the new user from the list and then click Edit, next to Product Licenses. You can then set a location for the user.
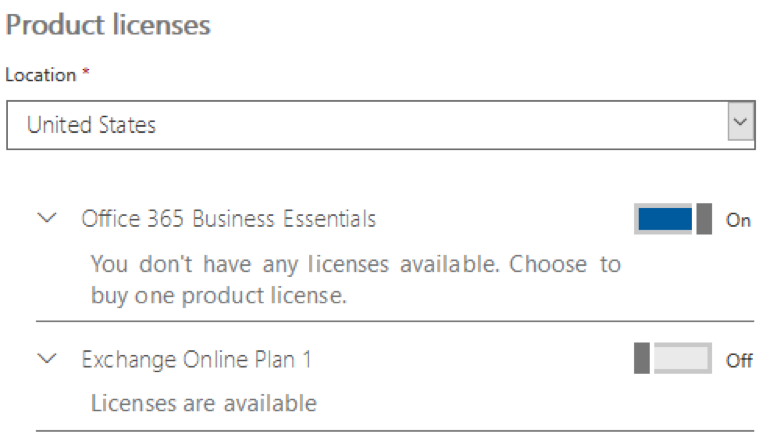
After setting a location, activate an available license (that contains Exchange Online) for the user, using the toggle switch for the license.
After activating a license, click Save at the bottom of the Product licenses pane.